 Vyrazíme
How to share tickets and bookings for a group trip
Tickets, booking confirmations, ski passes and insurance with the event, at hand for everyone going. Upload, tag and attach them to the itinerary.
Tickets, booking confirmations, ski passes, insurance: every trip collects a few documents that are good to have at hand once you are there. When they sit with the event, everyone going can find them, and at the station or the cabin all it takes is opening the app.
That is what Files in Vyrazíme are for, and the video above shows them. You upload photos and PDFs to the event, tag them and attach them to a journey or a stay in the itinerary. You can write about any file in the chat, and on your phone you save it or pass it on with a single tap.

What Vyrazíme does
- Documents with the event. Everything for the trip sits with the event and only its participants see it.
- Photos and PDFs. You upload JPG, PNG, HEIC, WebP and PDF, several files at once if you like. Photos are resized automatically, so large shots from your phone go through too.
- Tags and filter. Tickets, Accommodation, Insurance, ID documents, Itinerary and Receipts: tap a tag to find the file you need.
- Thumbnails in the event detail. Your files are right there in the event detail, and tapping a thumbnail opens it straight away.
- Files in the itinerary. You attach a ticket to a journey and a voucher to a stay, and find them right with the item.
- Comments in the chat. For any file you write a message in the event chat that refers to it.
- Sharing and downloading. On your phone you save a file to Files or Photos or pass it on, on the web you download it.
Step by step
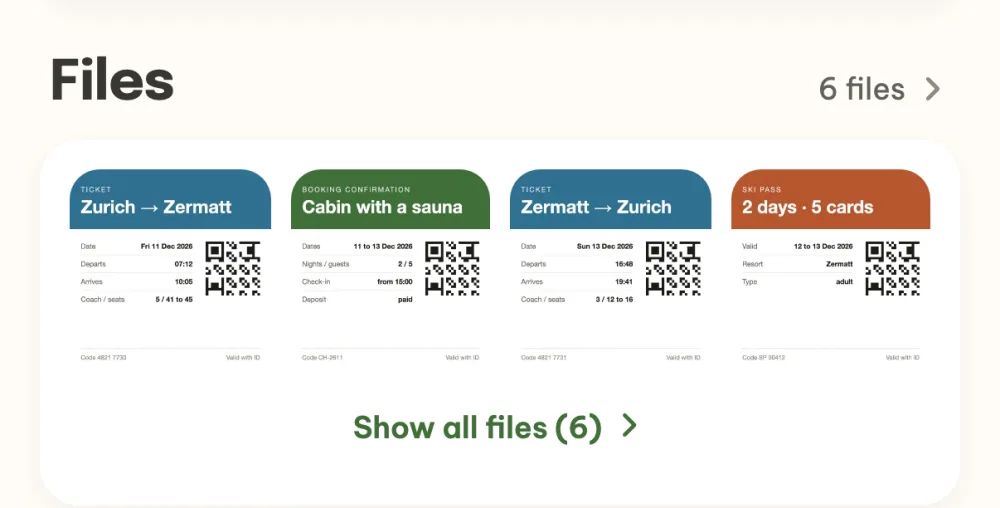
Open Files. The event detail has a Files section with thumbnails and the number of files, and tapping the heading opens the gallery. While the event has no files yet, you will find a Files tile in the What's next? panel.
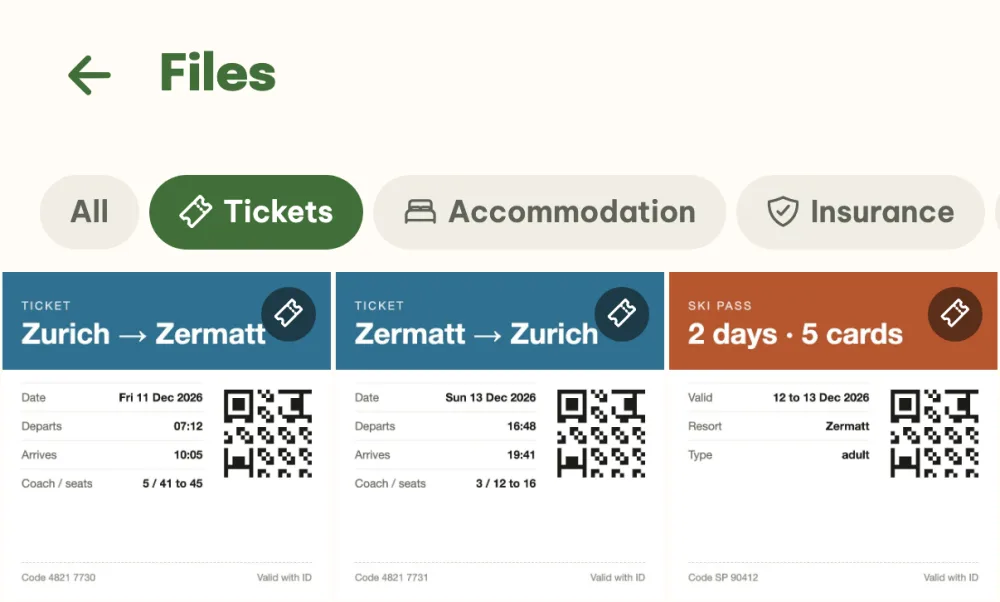
Find a file by its tag. The gallery shows pictures as thumbnails and PDFs as an icon with a name. Above it are the tags Tickets, Accommodation, Insurance, ID documents, Itinerary and Receipts. Tap a tag to see only the files that have it, and tap it again to clear the filter.
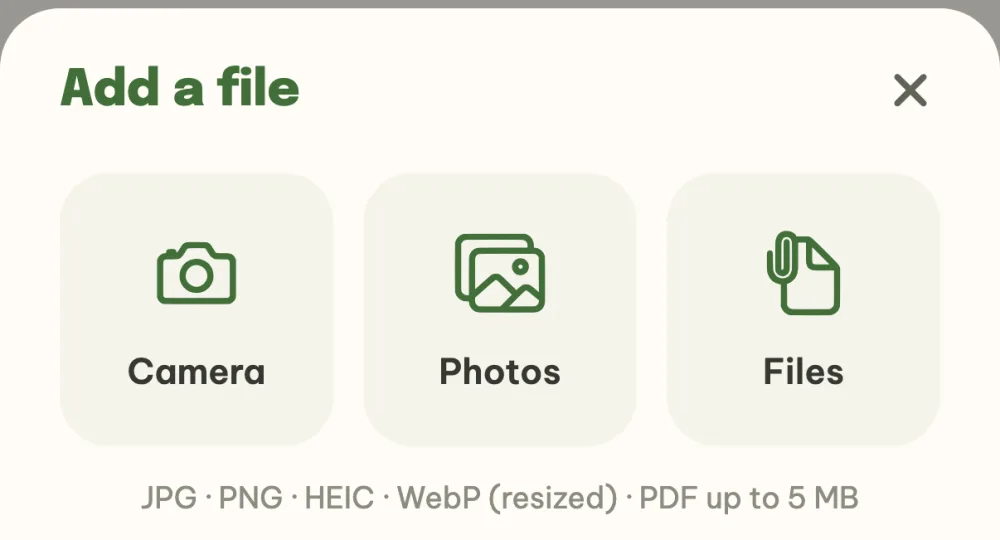
Add files. Tap the plus at the bottom right and choose Camera, Photos or Files. From photos and files you can pick several at once and set their tags before uploading. A PDF can be up to 5 MB.
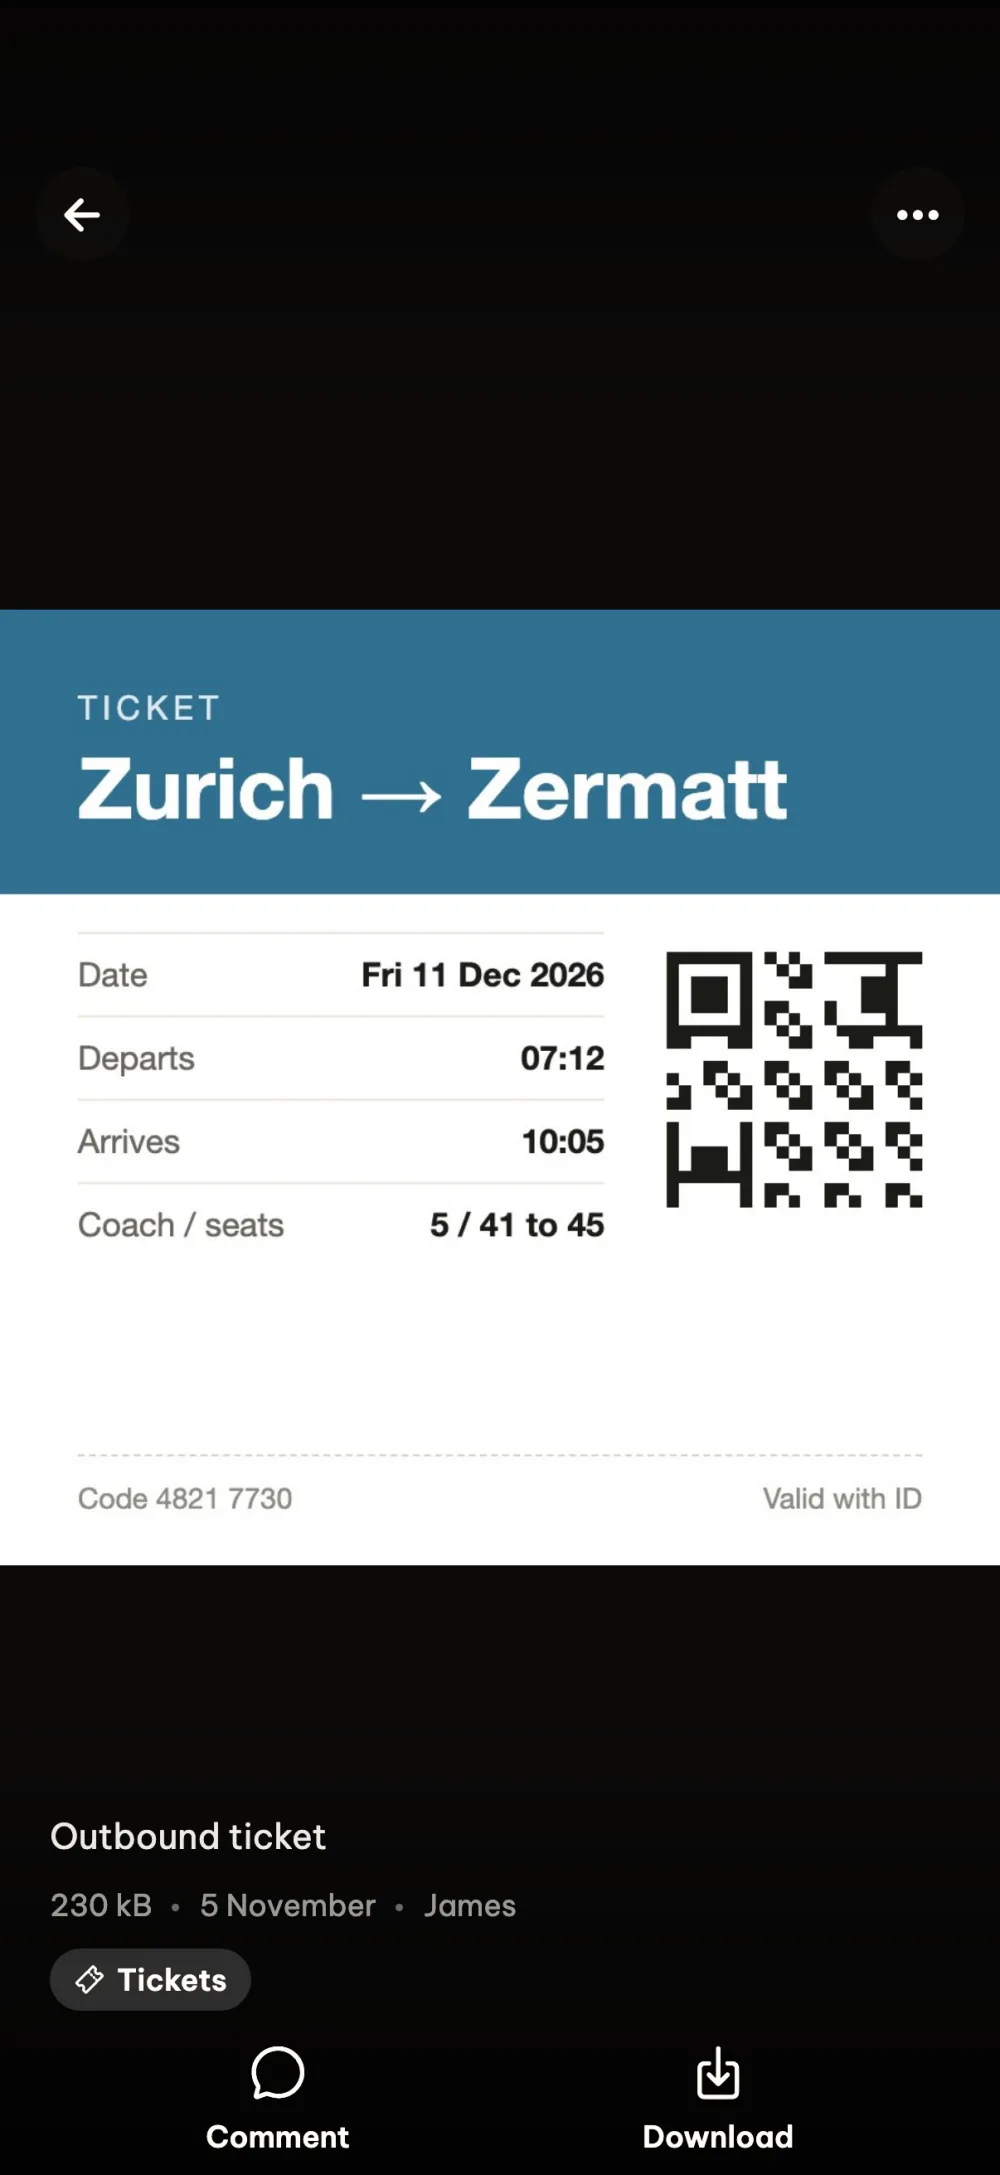
Open a file. Tapping a thumbnail opens the file full screen, with its caption, size, date, the name of whoever uploaded it and its tags. You zoom into a photo with your fingers. On your phone the Share button saves it or passes it on, on the web you download it with the Download button.
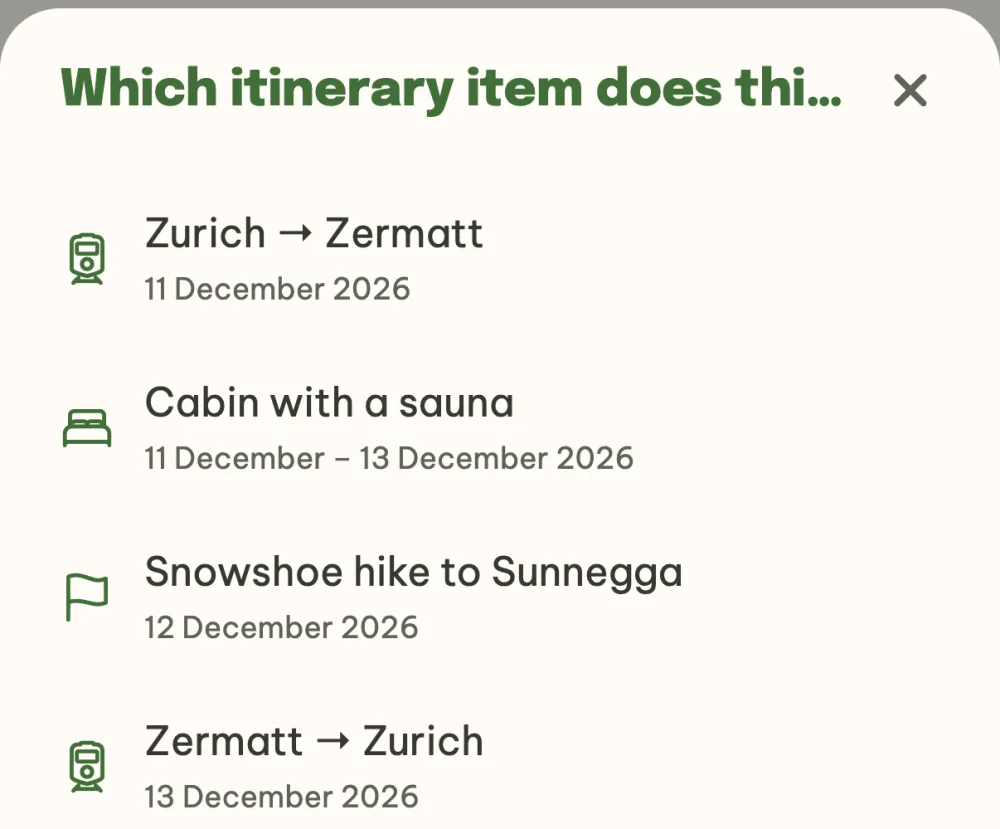
Attach a file to an itinerary item. In an event with an itinerary, press and hold a file and choose Attach to itinerary item. From the list of items by day, pick the one it belongs to, for example the booking confirmation for the stay. The file then shows up in the detail of that item and gets a tag matching its type.
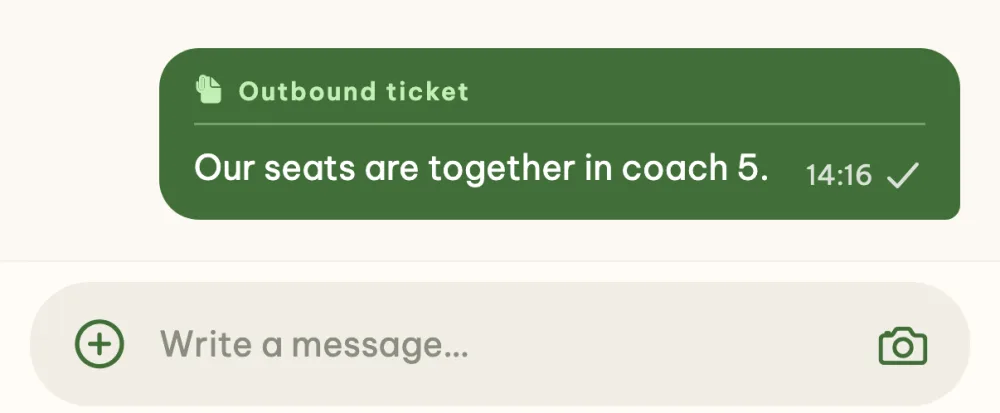
Write about a file in the chat. The Comment button in the file viewer opens the event chat with the file as context. The message you send has the file name at the top, and tapping it takes anyone back to Files.
FAQ
Who can see the files?
Only the event participants, the files are private. A guest who came through a shared link without an account can see them but cannot add or delete them.
How many files can I upload?
Up to 50 files per event. Photos are resized automatically before uploading, so even a large iPhone photo goes through. A PDF can be up to 5 MB.
Who can delete a file?
Any of the event participants, not only the person who uploaded it. You will find Delete in the file viewer under the three dots, or by pressing and holding the file in the gallery.
How do I get a file from the app onto my phone?
In the file viewer tap Share: the system share sheet opens, where you save a PDF to Files, a picture to Photos, or pass the file on. On Android there is also Download next to it, and on the web the Download button saves the file in your browser.
How do I attach a ticket straight to a journey?
Press and hold the file in the gallery and choose Attach to itinerary item, or add it right in the journey detail with the Attach a file button. How to plan the whole trip day by day is shown in the guide How to plan a day-by-day itinerary for a trip.